
Installing and Setting Up Tailwind CSS For Your Web Project
Learn how to install and fully set up Tailwind CSS (v 3.0.23) using NPM (Node Package Manager)


Table of contents
This is a beginner-directed guide to installing and setting up Tailwind CSS for your first tailwind project using the Tailwind CLI (Command Line Interface).
Tailwind CSS is a utility-first CSS framework for building websites quickly. The concept of ‘utility-first’ is embodied in the myriad of customizable low-level utility classes that Tailwind CSS provides.
Now, seeing classes scattered around your HTML doc can get you wondering what mess you’ve signed up for but, be rest assured, Tailwind CSS helps you ship dynamic websites with ease and in no time.
Prerequisites
There are a couple of noteworthy prerequisites for starting a Tailwind CSS project. Some of these prerequisites can be understood as learning evolves while some are straight-up mandatory to know.
Prior Knowledge of HTML and CSS

This prerequisite is a must-have.
Anyone looking to start using the Tailwind CSS framework must have a firm grasp of HTML and CSS beforehand.
Tailwind CSS uses utility classes in the HTML elements which save you from writing any CSS. So it pays to know how an HTML document should be structured before injecting Tailwind CSS classes into it.
Tailwind CSS classes will take some getting used to as well as a little bit of learning. Having a good knowledge of CSS is what makes Tailwind CSS naming convention understandable and predictable over time. The lack thereof can make these utility classes confusing for a beginner.
A good understanding and grasp of CSS can never be overstated when it comes to prerequisites for jumping on the Tailwind CSS wagon.
Node JS

Tailwind CSS is written in Javascript and distributed as an NPM (Node Package Manager) package. To install Tailwind CSS through the Tailwind CLI you need to have Node.JS and NPM installed first.
💡
Tailwind now has a standalone CLI. This makes Tailwind CSS executable without installing Node.js or npm.
If you’re curious to know how the standalone CLI works and how to get started on it, Adam Wathan’s got you covered in this article.
Now, you may not have Node.JS already installed on your PC. That’s okay. Zadhid Powell has a wonderful guide on installing Node.JS on your PC (macOS, Windows, Linux).
After installing node, you want to confirm that your installation was successful by running this command in your command line:
node -v
If Node.js is properly installed, you’ll see the version name in the CMD prompt. Just like this:

The Big Setup
The process of installing and setting up Tailwind CSS consists of bits of worthwhile steps to make a whole.
Tailwind CSS is not an extension. Unless you set it up globally, you need to take these similar steps to set it up in every project that needs it.
For this guide, we are setting it up locally—for this specific project alone. Buckle up.
Step 1: Create Your Project Directory
We need a project to apply Tailwind CSS to. First:
- Create a directory for your project (say,
/bugtracker) - Open the project directory you create in your VS Code (Visual Studio Code) Editor
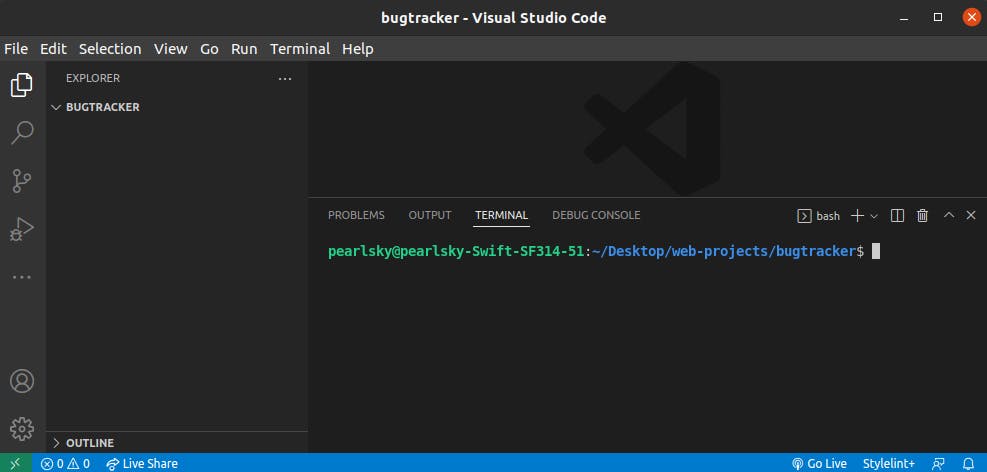
- Now, go ahead and open the terminal in VS Code. By default, the terminal opens at any folder that is open in the VS Code Explorer which is our
/bugtrackerdirectory.
Step 2: Initialize NPM (Node Package Manager)
“Initialize NPM.” Does this sound like typical computer terminology? Well, it is.
But before we dive straight into how to initialize npm, I want to offer a bit of context around this entire “npm” thing.
💡 Stay with me here for a bit.
A package comprises JavaScript’s one or more modules and a
package.jsonfile representing the package’s metadata. Tailwind CSS is one of such things—a Javascript (specifically, Node JS) package.Now, npm *(Node Package Manager)* is a package manager for these Node JS packages. It helps with installing various packages and resolving their various dependencies.
So we need to start (initialize) npm so that we could use it to install our Tailwind CSS package.
- Now, initialize the npm (node package manager) by running this command:
npm init -y
💡
Why do you have to run
npm init -yinstead ofnpm init. Shouldn’t the results be the same?Well, yes and no.
The
npm initcommand is a step-by-step command to build out your project. It will prompt you for input for a few aspects of the project such asname,initial version,description,keywords,license, etc.The
npm init -ycommand is what you use if you want to get ahead and build your project, without spending any time answering the prompts that come fromnpm init. The-yflag just stands for yes.So, use the
npm init -ycommand to automatically populate all options with the defaultnpm initvalues.
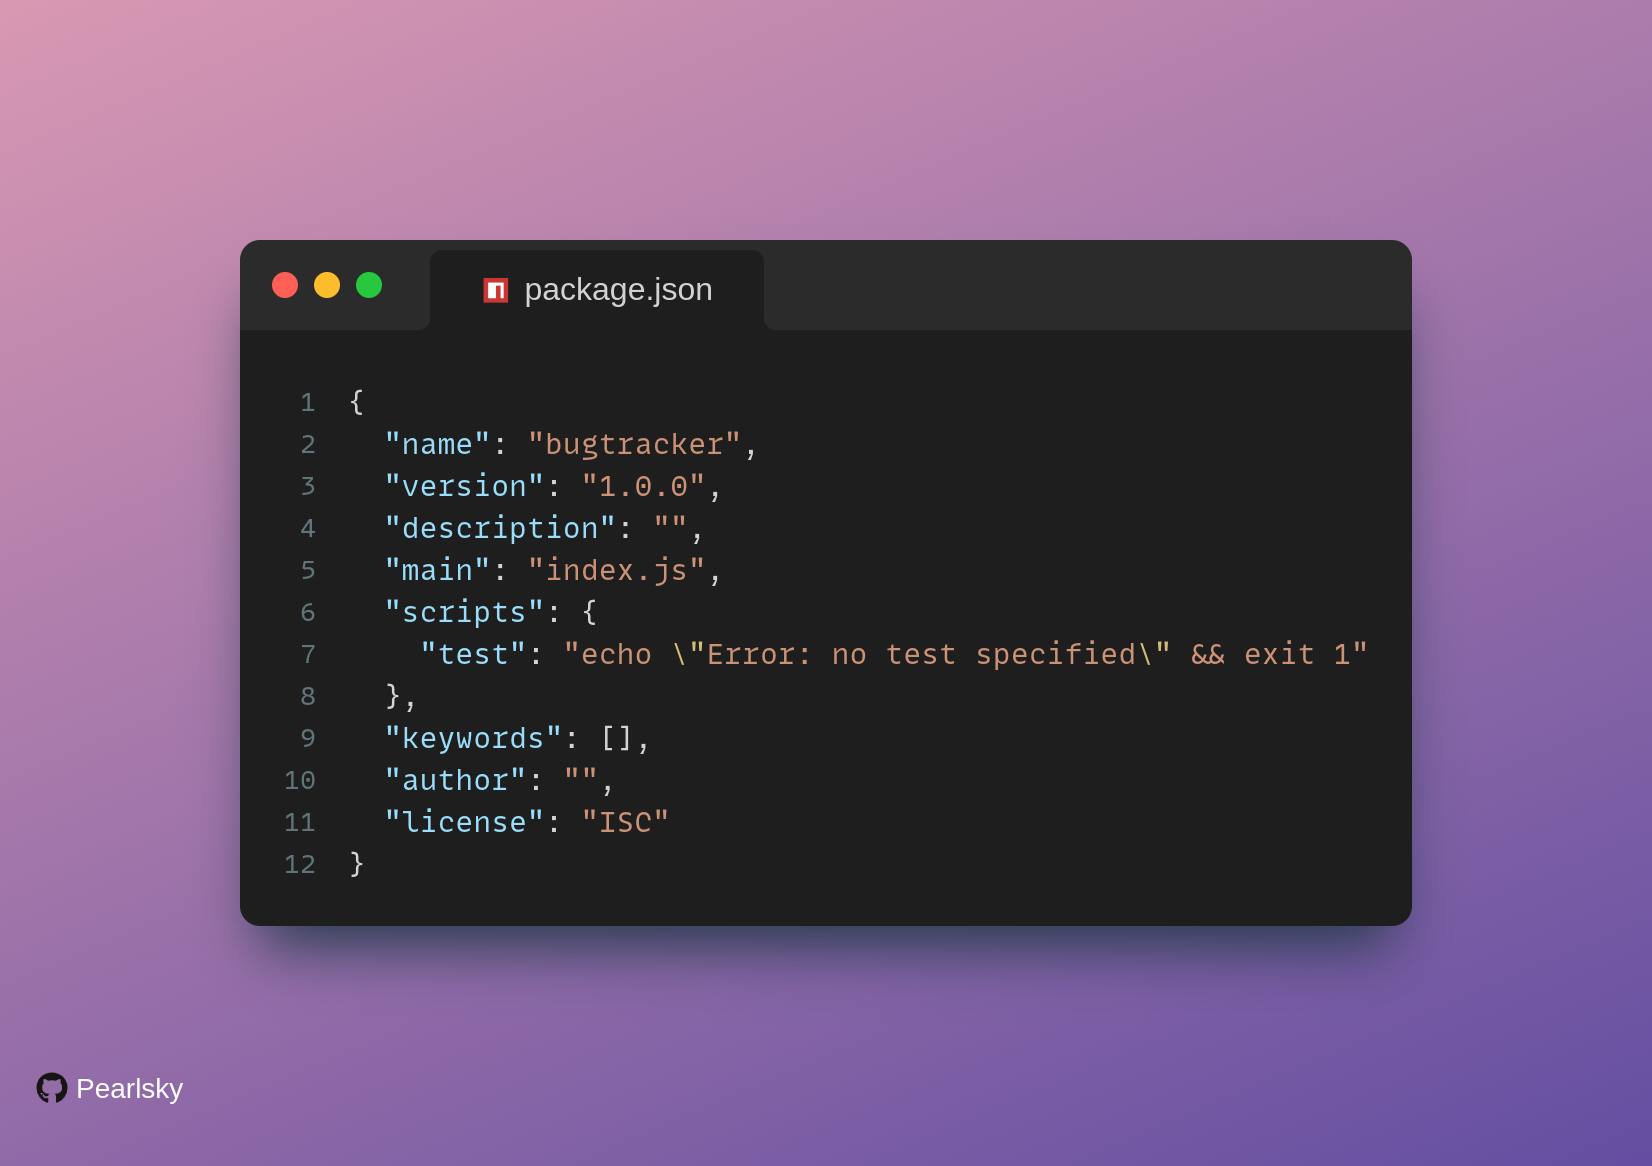
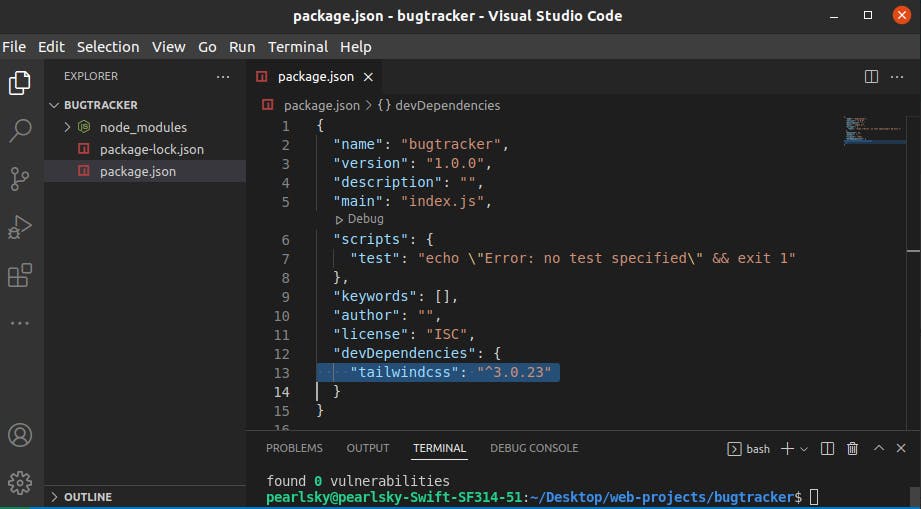
Once you run the npm init -y command above, a package.json file is generated and placed in your project directory.
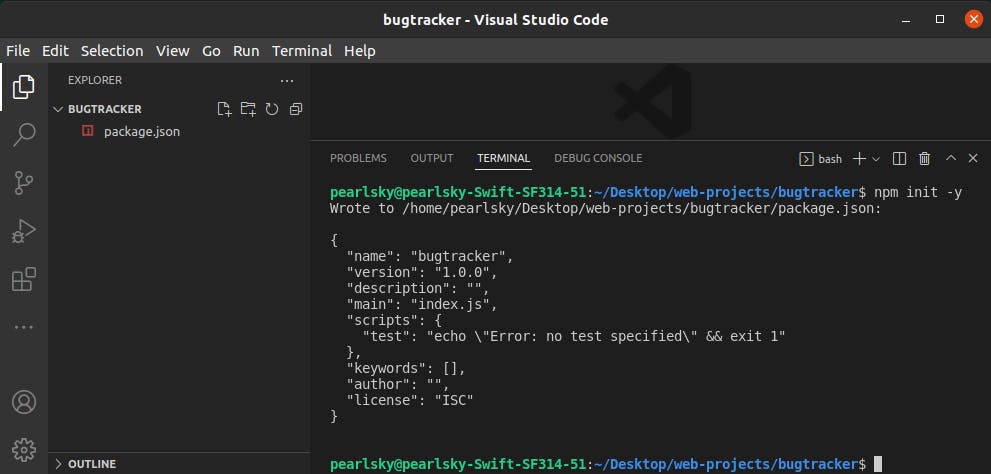
Open up the file to confirm that it is populated with the npm init default values. Just like this:
💡
Now, at its simplest, a
package.jsonfile can be described as a manifest of your project that includes the packages and applications your project depends on, information on metadata like the project's name, description, and author.The other majorly important aspect of a
package.jsonfile is that it contains a collection of any given project's dependencies. These dependencies are the modules that the project relies on to function properly.
Step 3: Install and Initialize Tailwind CSS
After initializing the npm (node package manager),
- Install Tailwind CSS by running this command:
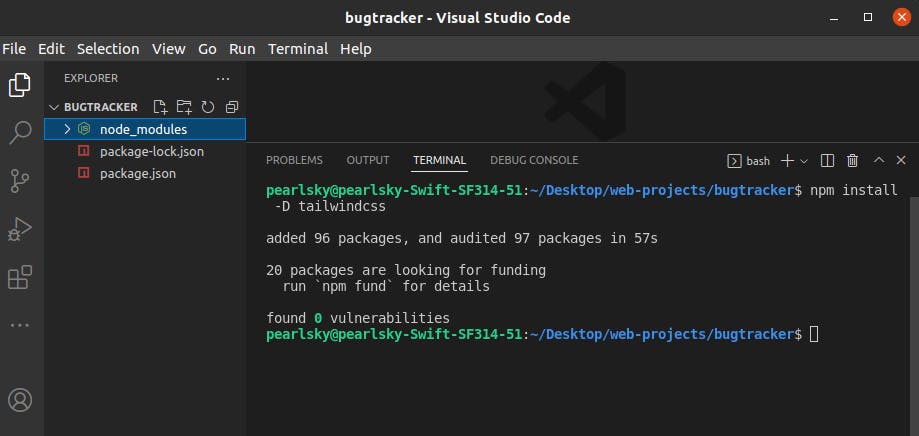
npm install -D tailwindcss
This command downloads Tailwind CSS and stores it in the /node_modules folder in your current directory. You would notice that a /node_modules folder has been automatically added to your directory after running the command
If it is properly installed, you should notice, that "devDependencies":{"tailwindcss": "^3.0.23"} has been added to the content of your package.json file.
💡
Quick sidebar on the
-Dflag in our Tailwind CSS package installation command—npm install -D tailwindcssabove.When you install an npm package (such as Tailwind CSS), you’re installing it as a dependency. Remember, these dependencies are the modules that the project relies on to function properly and are an important aspect of our
package.jsonfile.What are devDependencies?. Development dependencies are intended as development-only packages, that are unneeded in production. So when we add the
-Dflag in our npm install command, we are installing it as a development dependency, which adds it to thedevDependencieslist.
- After running the
npm installcommand, start (initialize) Tailwind CSS by running this command:
npx tailwind init
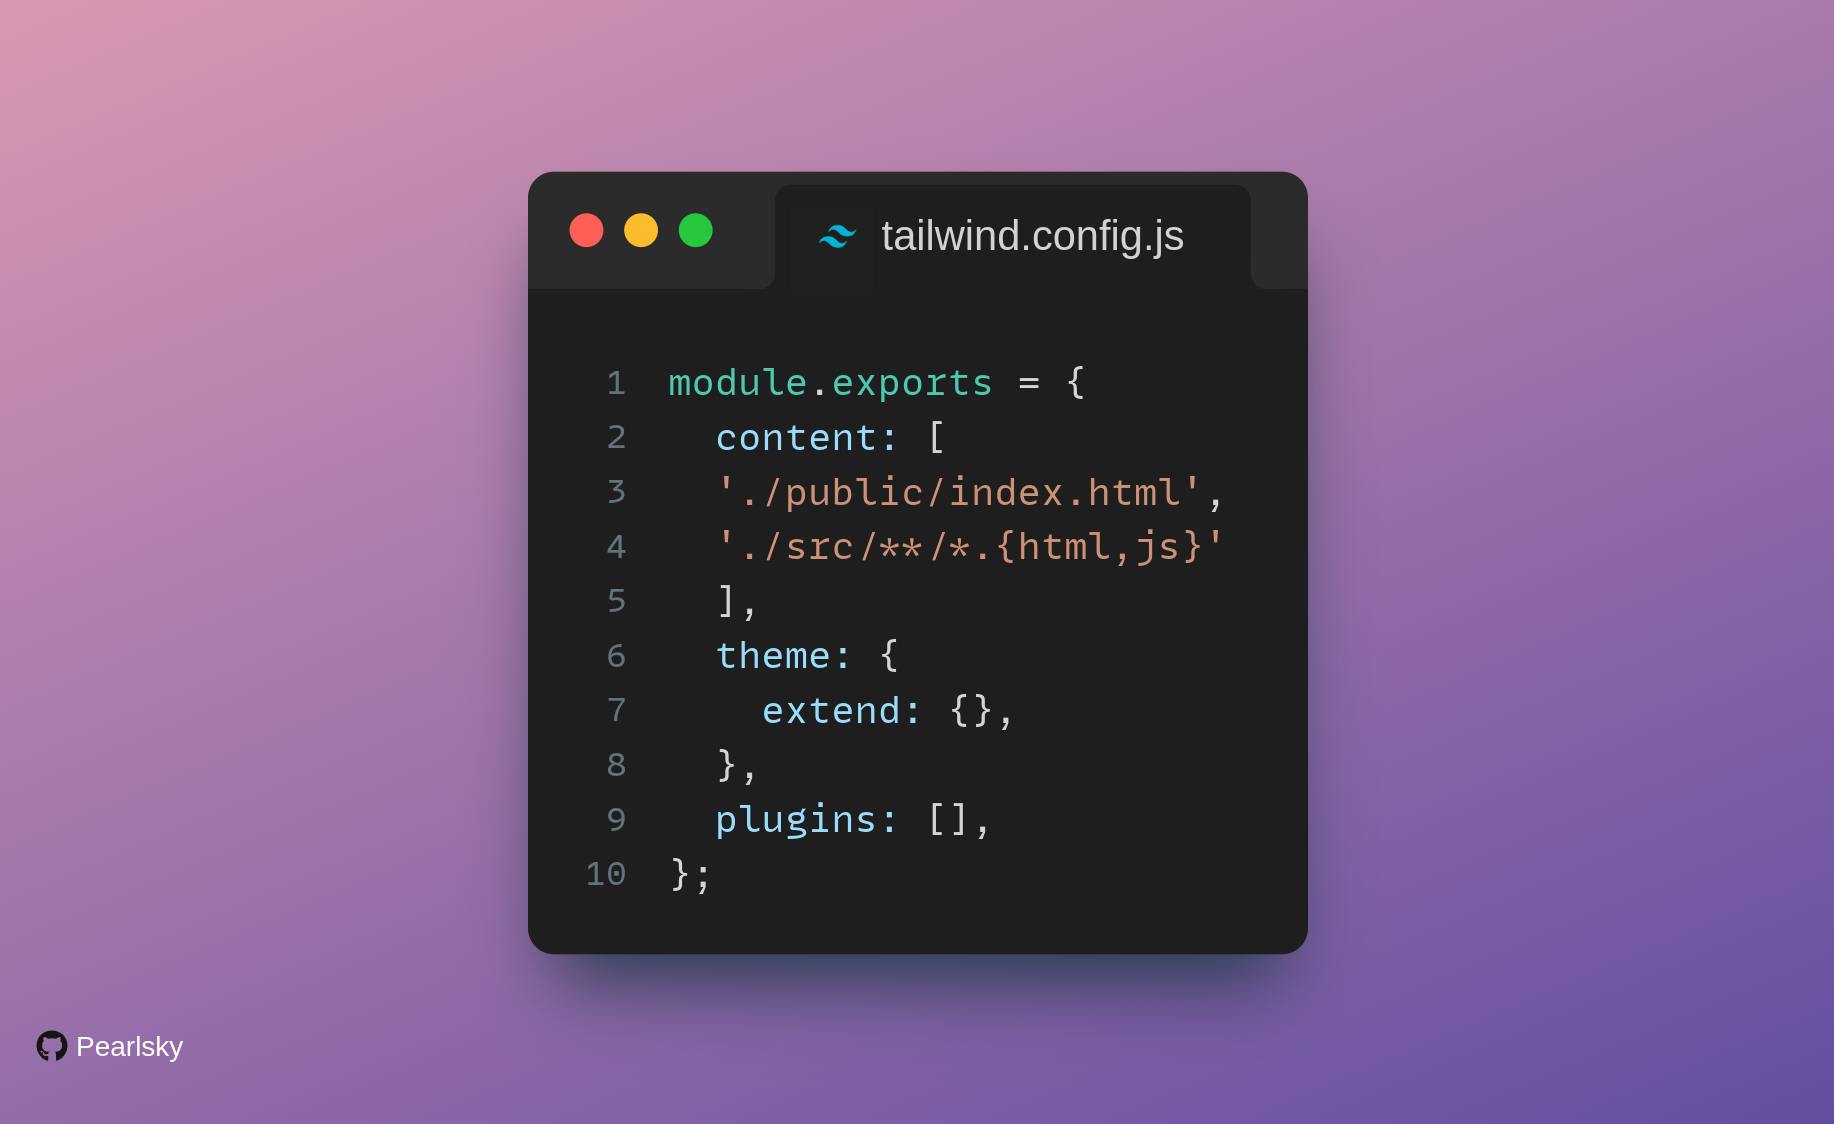
This creates a tailwind.config.js file in your project directory with the following content:
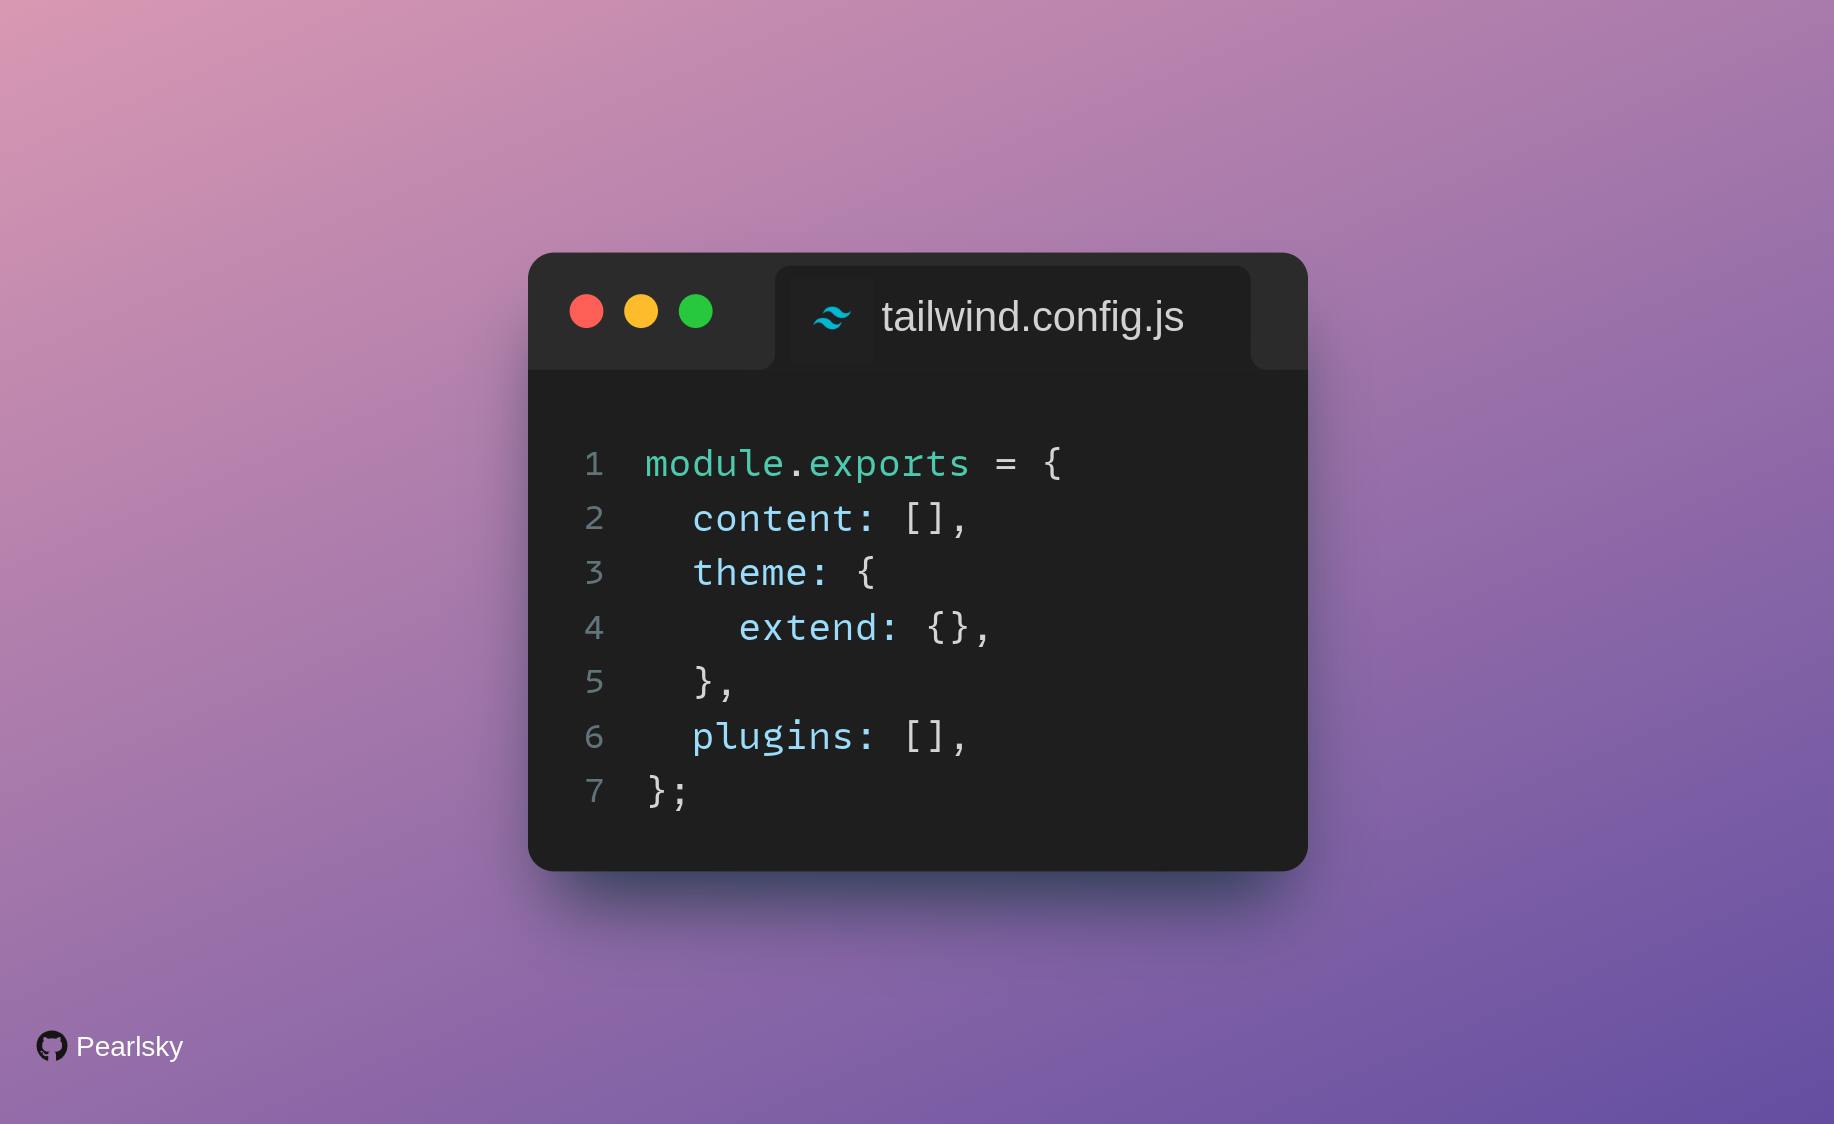
The tailwind.config.js file will later serve as a useful file to expand and customize the Tailwind CSS classes and insert additional settings (e.g plugins) among other things.
Step 4: Directing the config.js File
Tailwind CSS works by scanning all of your HTML files, JavaScript components, and any other templates for class names
Now, scanning files for class names is what the tailwind.config.js does in the background. But, it can’t just go around looking where it has not been directed.
So, we need to let it know which files to look in by specifying the file location. Let's do so:
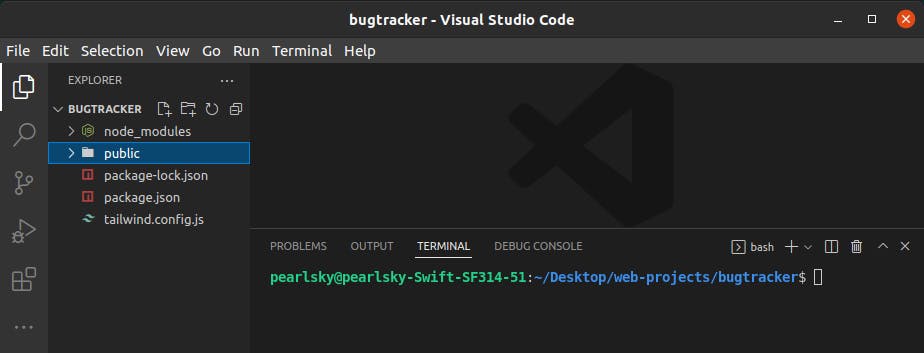
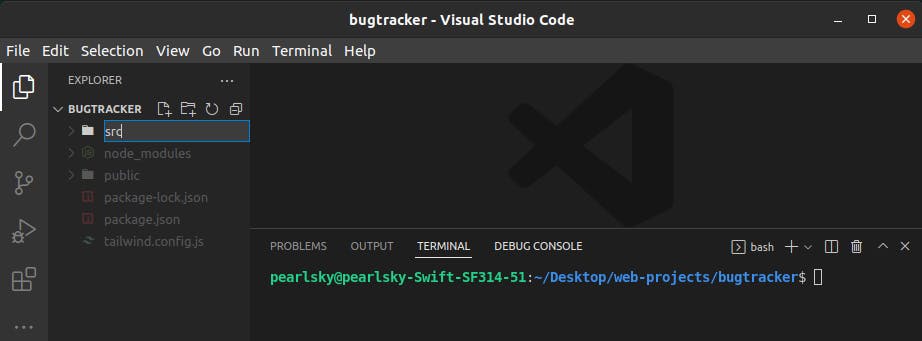
- Create a folder in your project directory (say
/public)
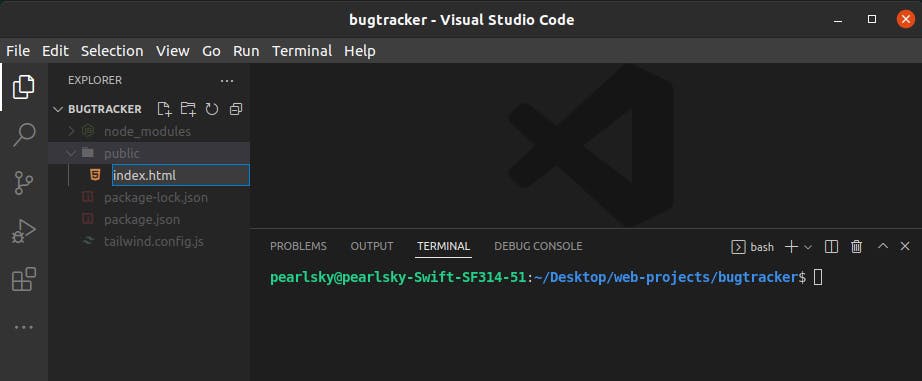
- Then, create an HTML file, say
index.htmlin the/publicfolder
- Go to the
tailwind.config.jsand insidecontent: [], specify the location of theindex.htmlfile by adding this code:
'./public/index.html',
'./src/**/*.{html,js}'
After configuring our config file, it scans at the specified file (which in this case is our index.html) for classes and add those classes to its CSS.
Step 5: Add Tailwind CSS Functionalities
- In VS Code, create a folder in your project directory (say
/src).
- Create a file called
input.cssin the/srcfolder
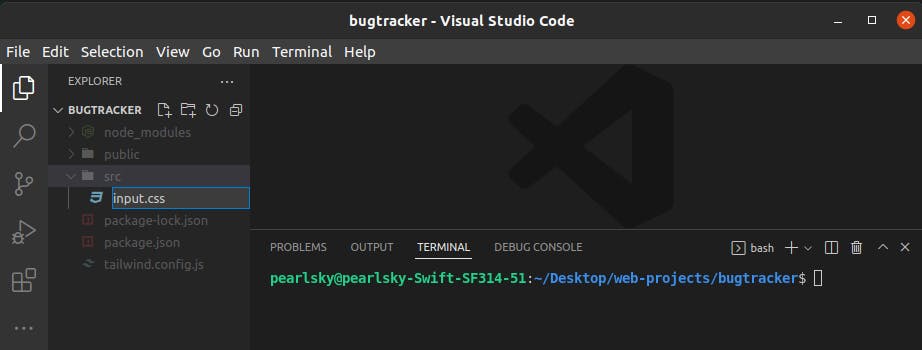
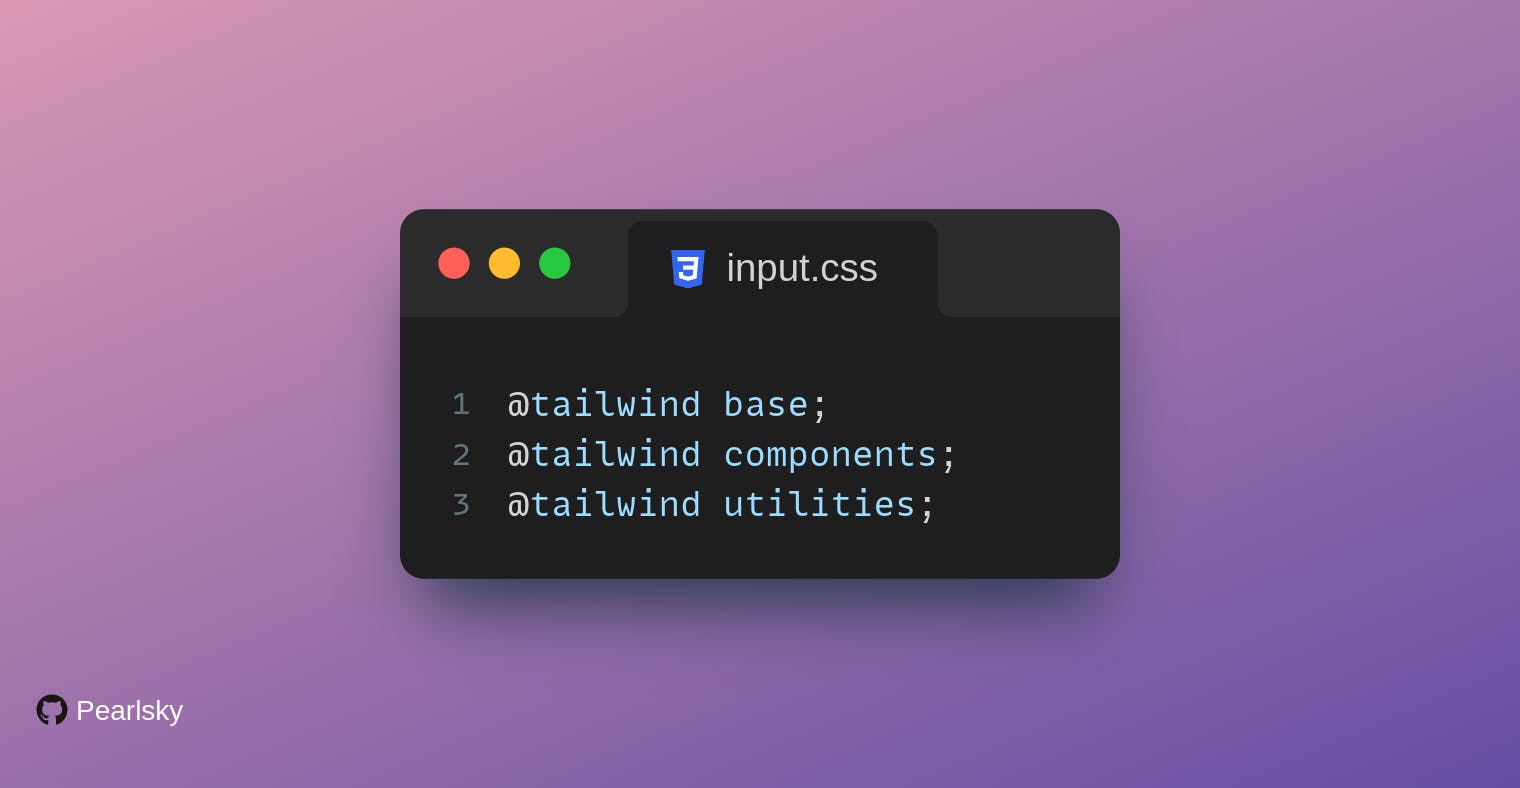
- Copy the code below into your
input.css. This imports Tailwind’s base styles, components, and utility classes into your CSS when you run the build function.
Your input.css file should look like this:
Step 6: Configure for Build
Tailwind CSS requires a build process that processes the CSS file (in our case, src/input.css ) containing all the imported base, components, and utility functionalities (as seen in Step 5 above) and inserts all that processed CSS code into a stylesheet according to those functionalities.
For this guide, we would use the Tailwind CLI to start our build process. To do this,
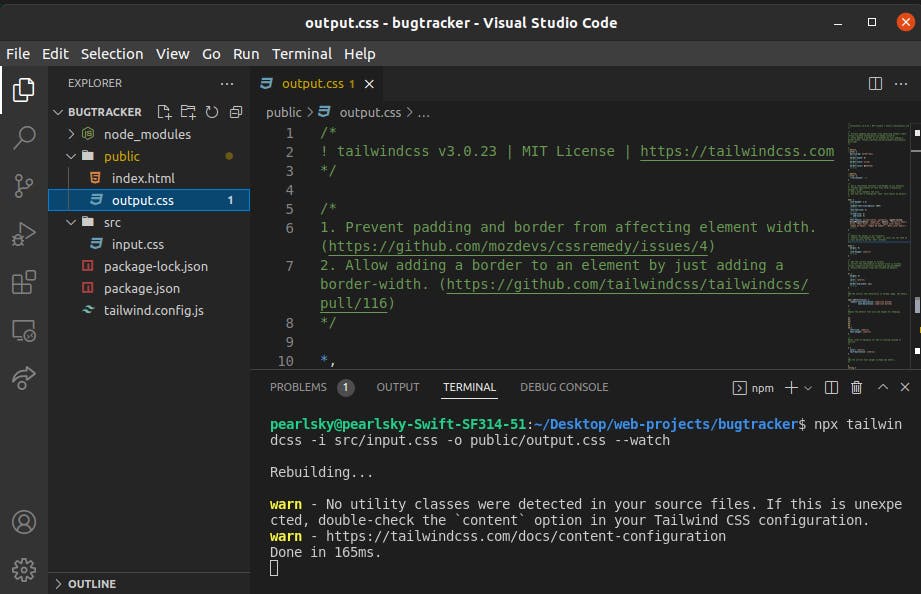
- Execute the build process by running this command:
npx tailwindcss -i src/input.css -o public/output.css --watch
The command above specifies :
(i) the input CSS file, -i src/input.css —containing all the imported base, components, and utility functionalities as specified, as the stylesheet that will be processed when the build command is run
(ii) the output CSS file, -o public/output.css (though not created yet) as the stylesheet the processed CSS styles according to the functionalities specified in the input CSS file, will be inserted into. It is this output CSS file that will then be linked as a stylesheet in our HTML doc’s head section.
Running this build command creates the specified output.css stylesheet in the /public folder. This output.css stylesheet is the file that will contain all the processed CSS.
Step 7: Configure for Subsequent Build
Now, there will be times when you’d need to add your custom styles to the input stylesheet; it could range from using @import to import a web font, to creating your custom class using the @apply rule.
Every time we add these custom styles to our input.css stylesheet, we have to run the build process for our custom styles to be processed into our output.css stylesheet. This is important because the output.css contains all the styles for the classes referenced in our public/index.html
Rather than running this long—mistake-prone command:
npm build-css -i src/input.css -o public/output.css
What you could and should do, should be:
- Add the
build-csscommand to yourpackage.jsonfile as shown below:
"scripts": {
    "build-css": "tailwindcss build -i src/input.css -o public/output.css"
},:
After adding the build-css command, this is what your package.json file should look like:
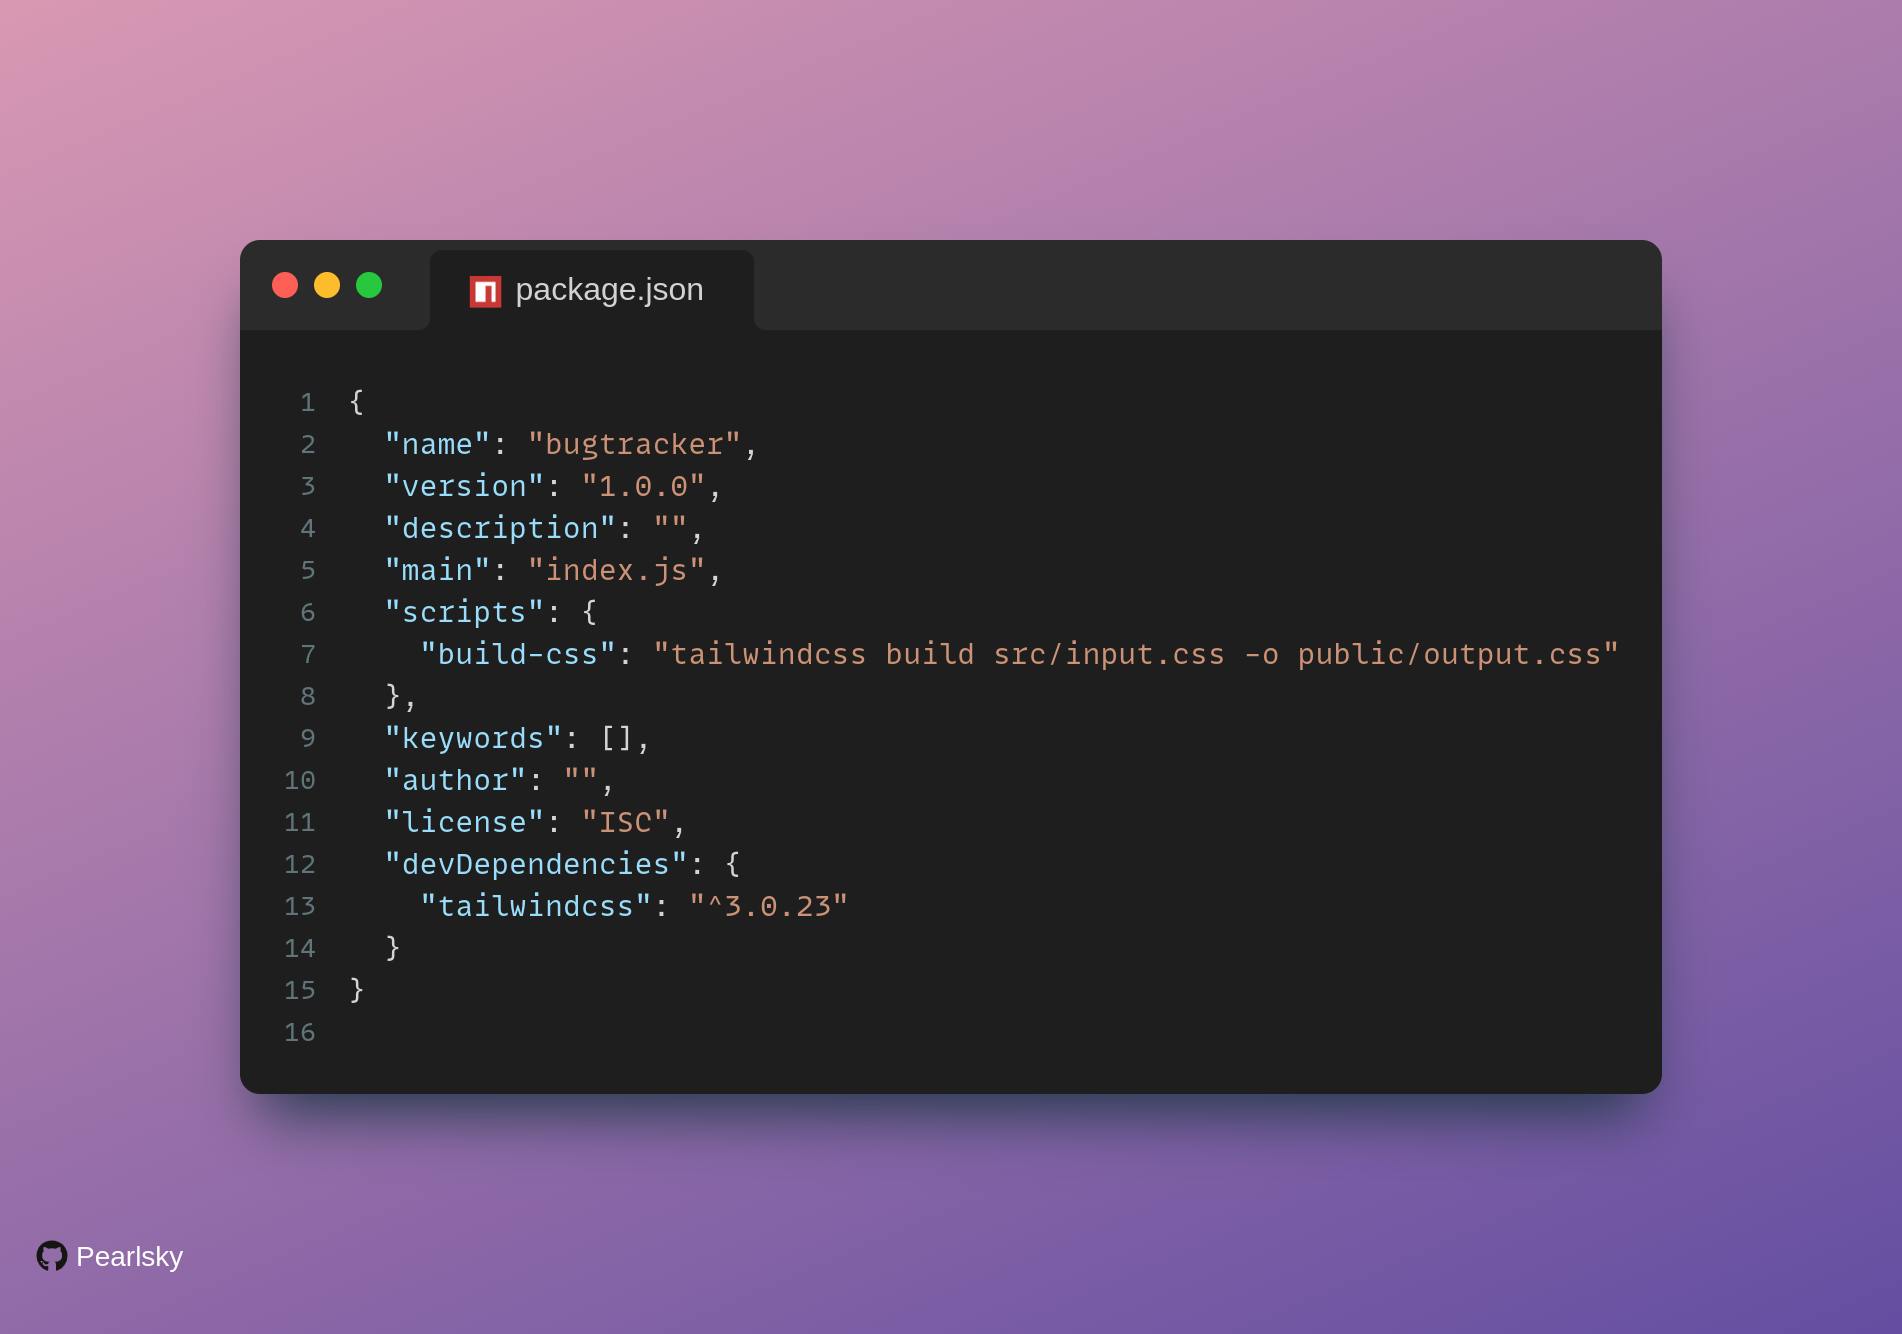
By defining this build-css command, we’ve done away with specifying the input stylesheet and output stylesheet time and again.
You’d just need to run this command:
npm run build-css
Testing
Final Lap!
Now, all we need to do is make sure that our installation and setup work the way we intend for them to, and produces all expected result.
- Let’s create a single
h1andpelement to demonstrate this. Add the code below to your HTML
<h1> My First Tailwind Project </h1>
<p>Welcome to my first project using the Tailwind CSS Framework</p>
Your HTML page should look like this:
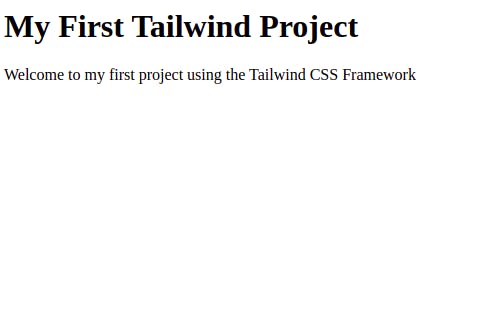
Next, let's link the output.css stylesheet to your HTML.
<link rel="stylesheet" href="output.css">
If you refresh your page after linking your output.css stylesheet, it should look like this.
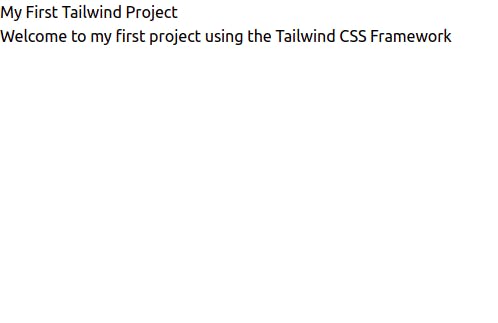
If it does, then well done, good and faithful reader! By having all default user-agent styles stripped off your index.html page ( as seen from, your h1 and p elements), you have your first experience of Tailwind CSS.
Now, go ye into the world of Tailwind CSS and inject your utility classes as you may require.