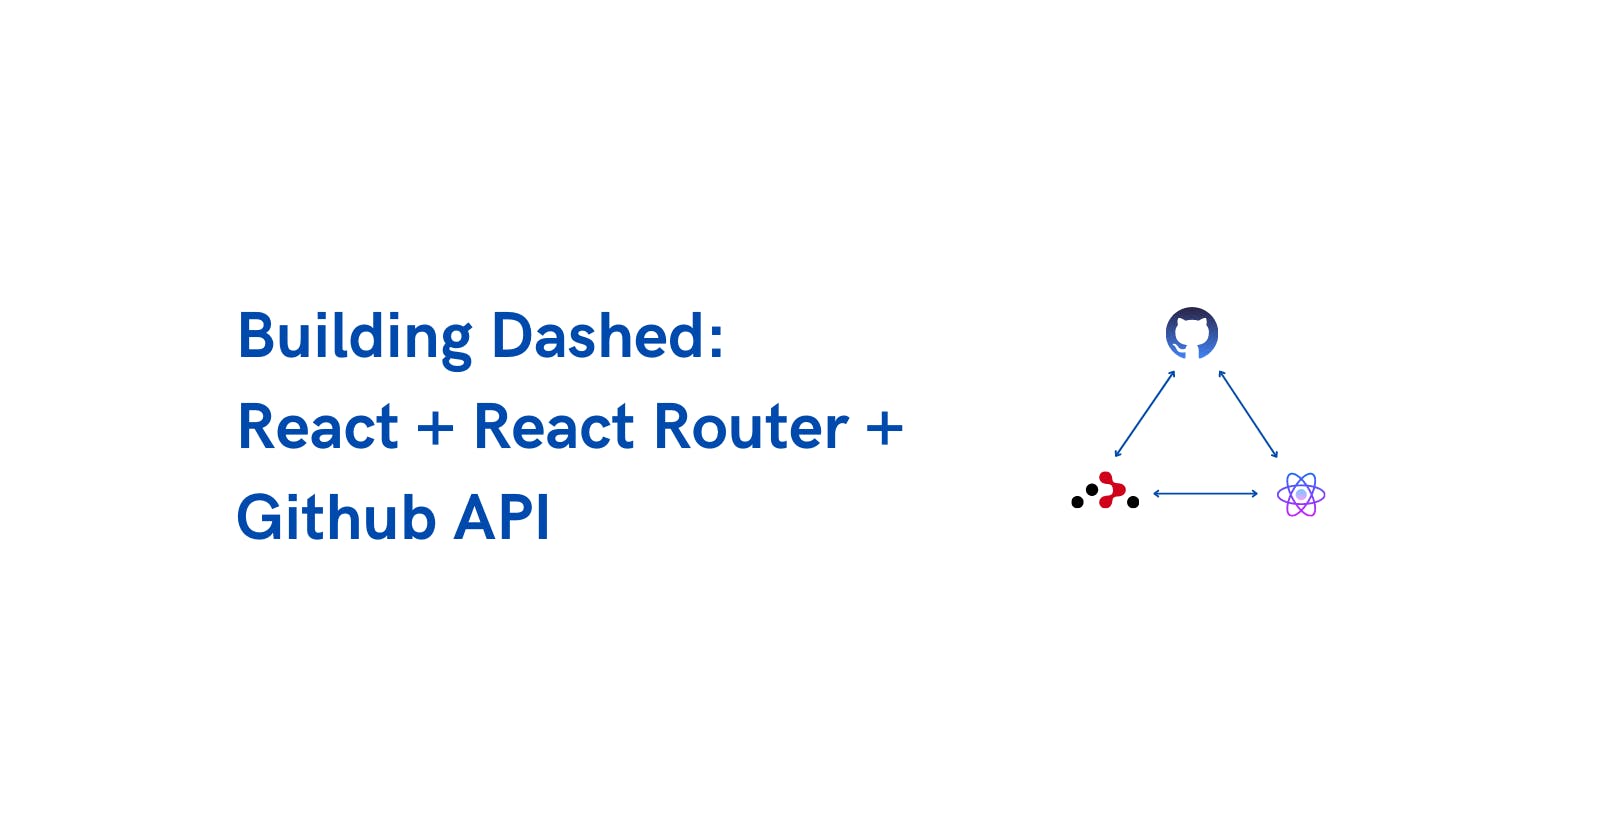
Building Dashed: A GitHub Portfolio App for GitHub Users
An overview of my implementation of an examination project by AltSchool Africa, featuring React Router, Hooks & GitHub API.


This project would easily qualify as one of AltSchool Africa's Capstone Projects for the Frontend Software Engineering Track. I imagine its essence was to test all our learnings from the second semester when we started learning React, the popular Javascript library for building user interfaces.
Per requirements, this project features data-fetching, routing, and pagination among other features. In this article, I'd take us through a high-level summary of how I achieved my implementation of the project.
Stack & Technologies
There were a bunch of technologies that proved so useful while building this project some of the dominant ones were:
React
SCSS
GitHub API
Git
Figma
Implementation
Setup and Folder Structure
I used the create-react-app package by Facebook to set up the project and removed unneeded build and test files. It felt necessary to have a better folder structure than dumping every .jsx file in the components folder. In the end, I settled for /assets, /components , /style-utils and /views folder structure.
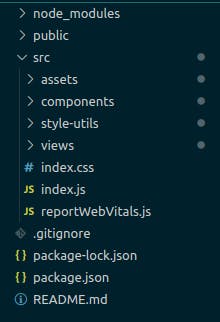
All icons and images got put in /assets, single reusable UI components got put in /components along with their styles. Because I used SCSS, it was important for me to have a folder where I stored my global variables (colours, etc) and mixins (media queries mixins) hence, the /style-utils. I had a sort of dashboard-like app, so I needed to put the various pages in /views .
I wouldn't say it was the best structure, I don't know enough to come to that conclusion. However, this structure worked for me because the ease of refactoring mattered to me and this structure helped me achieve that.
Routing
I made use of the popular React Router library to implement routing throughout this project. I came to understand that in React, routing essentially has two purposes:
To change the
window.locationproperty of the browser (when used with a web browser).To detect the current location of and use it to show or hide different components or combinations thereof.
So, once the value of window.location.href changes (owing to the function of a React Router component, link ) this property can be read using Javascript and the different URLs can be associated with different components (owing to the function of another React Router component, route ).
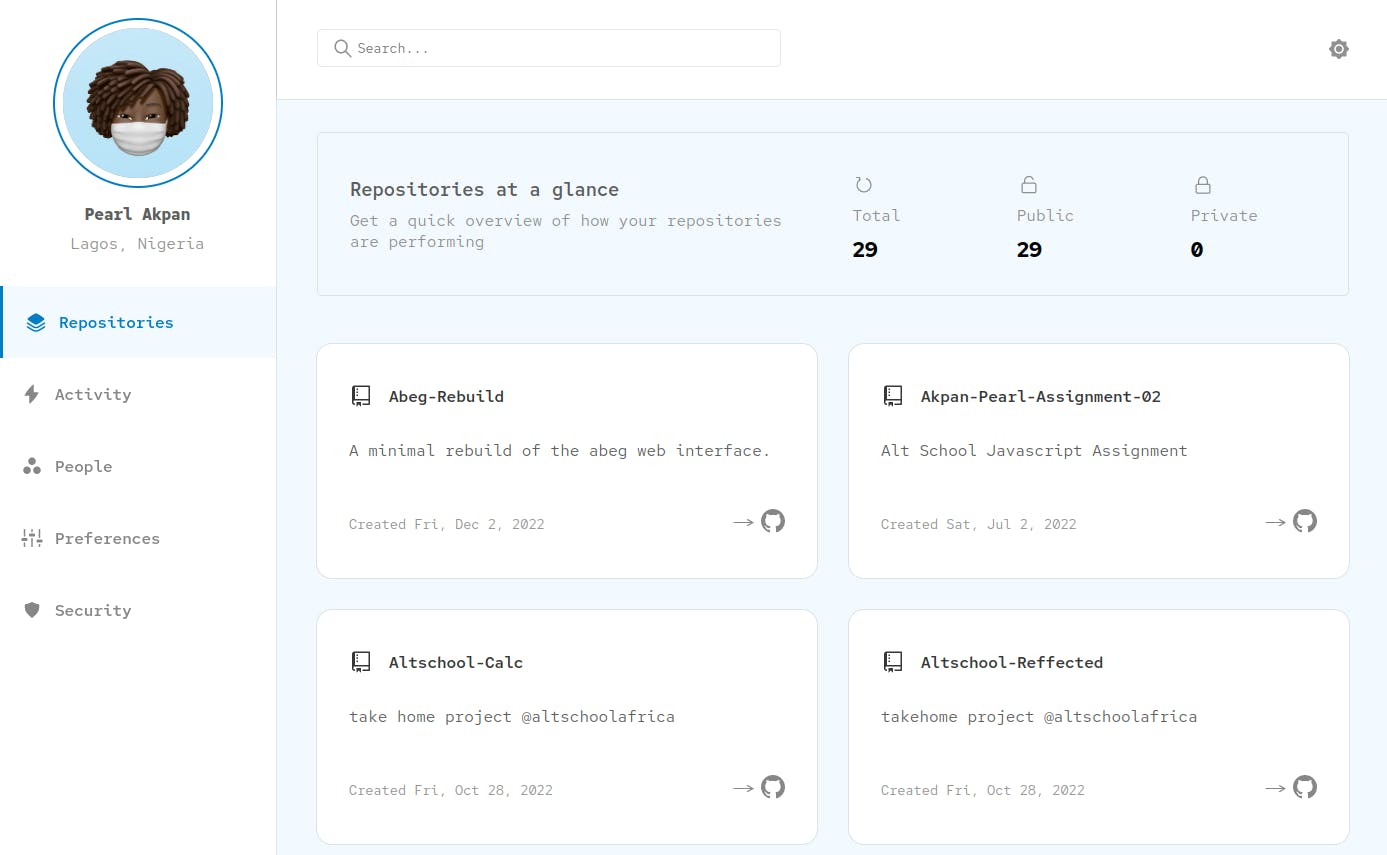
In this project, I used the NavLink router component to route through the different views or pages of any user's GitHub portfolio dashboard.
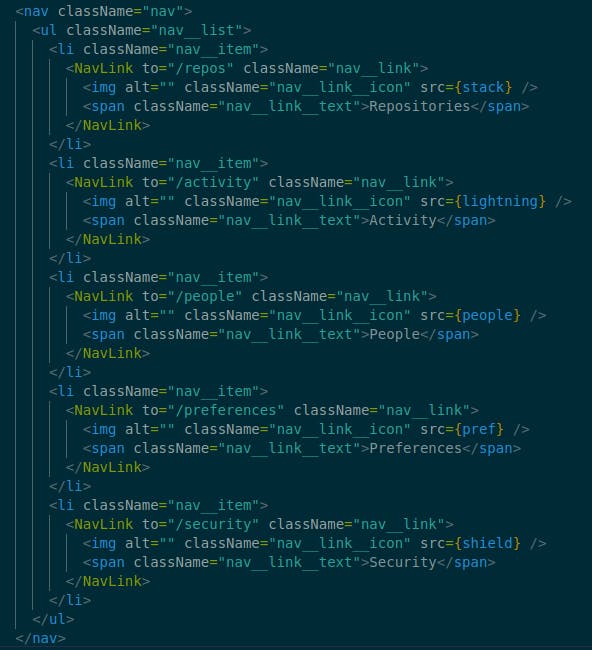
The NavLink router component automatically sets an active class on the current or active nav link. This made it easy to style the nav links (tabs in this project) relative to the presence of an active class on the link element.
Nested Routing & URL Parameters
Nested routing allows a parent route to act as a wrapper for a child route. This is useful because it allows both the parent and its child route to get rendered.
URL Parameters allow you to declare a placeholder in portions of a URL. So, just like you can declare parameters in functions and pass arguments to fill the parameters when calling the function, you can define URLs with parameters in some portions.
The way you tell React Router that a certain portion of the URL is a placeholder (or URL Parameter), is by using a : in the Route's path prop. And, because declaring a parameter is like declaring a variable to be assigned for later use, the value that fills the URL Parameter can be used in the future, literally. In React Router, this value is accessed using the useParams() hook.
In this project, instead of defining a route for every repository on the repositories page, I declared one route with a name parameter for the repository's name.
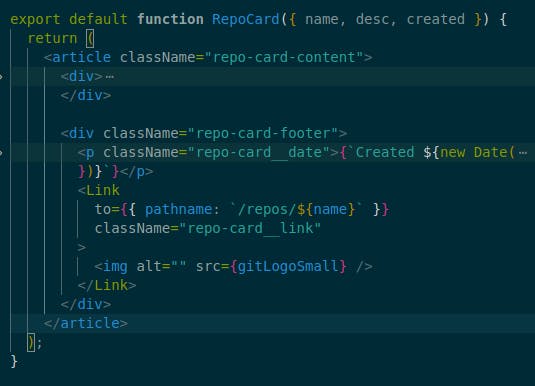
For every RepoCard which was a component for every repository item from a user's collection of repositories, I passed the repository item's name as a URL Parameter.
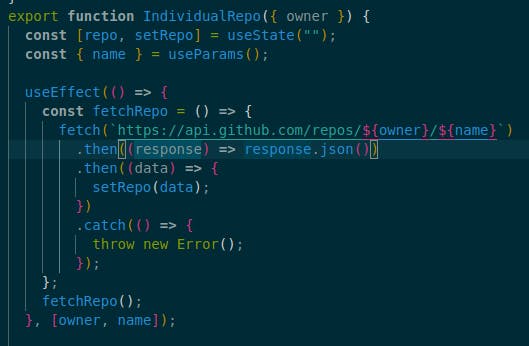
Whenever the repository item was clicked to open up its repository-specific information through the IndividualRepo component, I used the name URL Parameter to fetch data for whichever repository name was the value of the name URL Parameter.
Pagination
Pagination is useful for dividing large data sets on the web into chunks/pages while providing a way to navigate between those pages and access the various chunks of information on them.
In this project, I implemented pagination for the list of repositories since I styled them as cards, this made for good UX because users didn't have to scroll so far to see several repositories since each page had a definite number of repositories on them.
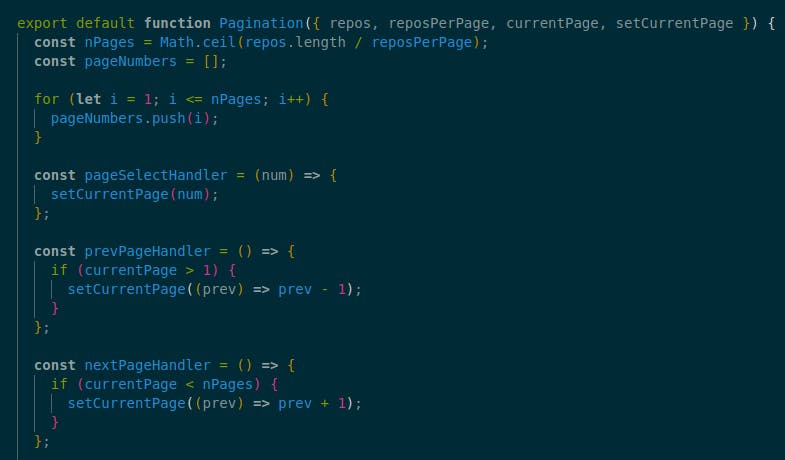
As shown in the image above, by having a fixed number of repositories per page, reposPerPage, it became easier to derive other values such as the total number of pages, nPages, to dynamically map the accurate number of chunks or pages.

I also implemented necessary disabled states for the next and prev pagination buttons.
Error Boundary & 404 Pages
React doesn’t provide a component for catching errors thrown in child components. But it does provide a couple of lifecycle methods that class components can implement if they want to catch and report errors. If one of your class components implements one or both of those methods, it is considered an error boundary.
An error boundary is a class component that implements one or both of the componentDidCatchError or getDerivedStateFromError lifecycle methods. If you wrap all or part of the component tree in the error boundary, it will render a fallback UI if one of the wrapped components throws an error.
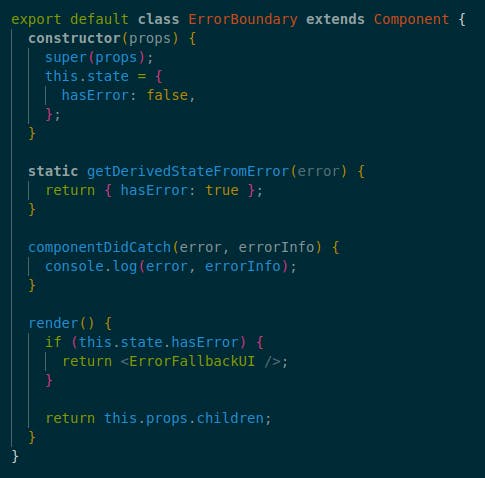
We implement our error boundary and wrap it around the HomePage which has the test error button.
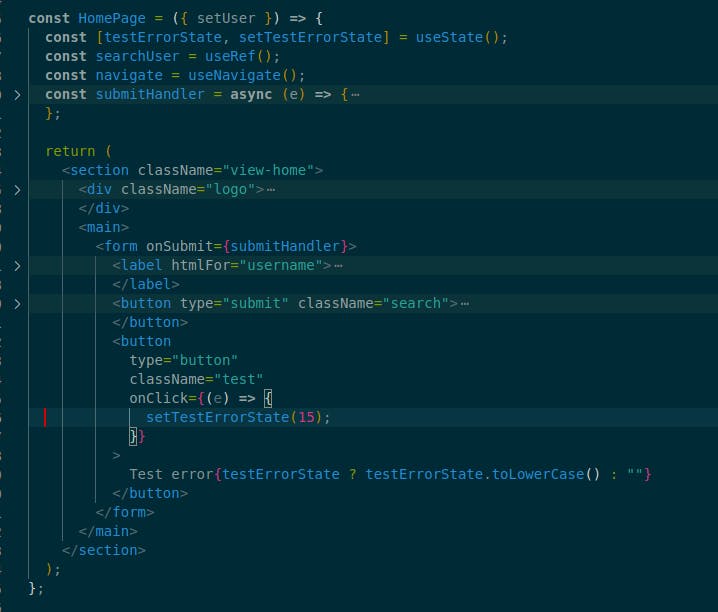
Because error boundaries do not catch errors from event handlers, we don't trigger an error from the test error button's onClick event.
This is the fallback UI that gets rendered whenever an error is thrown from the HomePage and caught by the error boundary.

Additional Feature ✨**: Fetching GitHub Portfolio for Other GitHub Users**
Per the holiday challenge requirements, I opted for a new feature. I imagined it'd be too boring to always open up the app to see only "Pearlsky". I wanted to see other GitHub users through my project, so I implemented a search feature for other valid GitHub users.

Now rather than opening the app to see, boring ol' Pearlsky, the app opens up with the search for a GitHub user page, on typing a valid username and clicking the search button, the user gets redirected to the dashboard (wannabe GitHub portfolio) of the GitHub user.
Conclusion
There was a lot of depth to the things I learnt while working on this project. And though I can't do justice to it with this article, if you need to take a look at it, here are the links to every further reference to the project.
I created a Figma file just to have a bit of design organization while building: Figma file: Dashed
Here's a link to the repo for the project: GitHub Repo: Dashed
Here's the live demo: Dashed